Post Stastics
- This post has 1186 words.
- Estimated read time is 5.65 minute(s).
Recently in the slack flutter forum, the Okito package was announced. I took a quick look at the package but at the time didn’t have time to investigate it fully. This past week I got the chance to look the documentation over and produced my first ever Youtube video using Okito as the subject. In that video, I recreate the flutter default counter application using the Okito package’s state management solution. Like most state management solutions, Okito’s take on state management isn’t for every situation however, I feel it has it place in the flutter developer’s toolbag. Particularly if you’re working with an MVC, MVVM, or MVP type application architecture. In this article, I will again recreate the default flutter app using Okito’s state management solution. While this article produces an application that works the same it is not the exact same code. Though it is very close.
Getting Setup
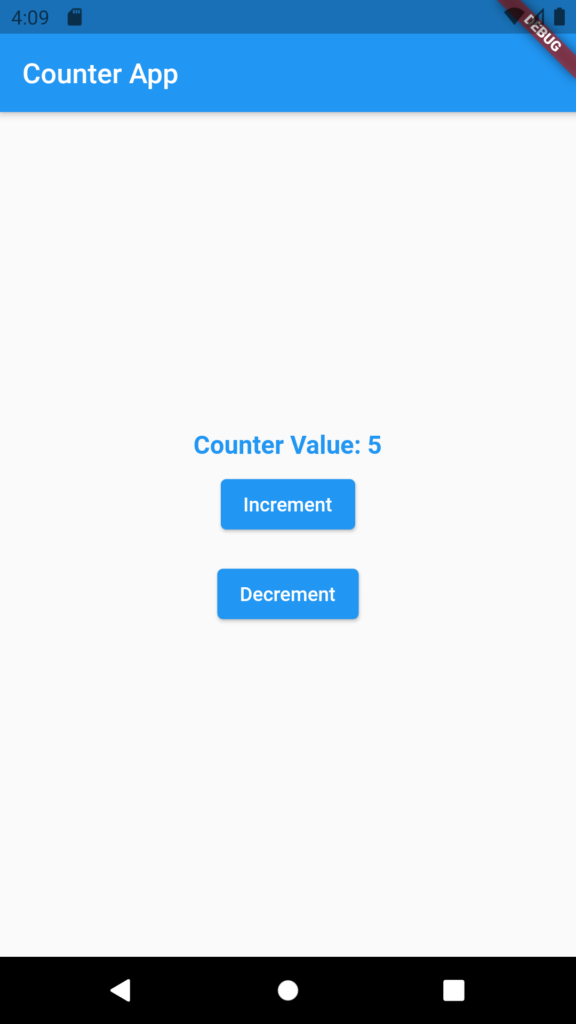
If you’ve used flutter at all you’ll be familiar with the default counter app. There are at least a few hundred variations on this simple app. Most simple add a decrement button in addition to the increment button. So as not to disappoint, I will do the same here.
The first step in building our application will be to create a new flutter project. Navigate to the folder where you want to locate your project and run the flutter create command:
flutter create okito_demo
This will create the default flutter counter project.
Our next step will be to set up our pubspec.yaml file in the project’s root folder. You’ll want to make two changes to the file. First, under the environment -> sdk change the sdk lower bound to 2.12.0.
environment:
  sdk: ">=2.12.0 <3.0.0"
Next, under dependencies you’ll need to add the Okito package. At the time of this writing the latest version is 1.1.1.
dependencies:
  flutter:
    sdk: flutter
  okito: ^1.1.1
Now run flutter pub get to pull down the newly added dependencies.
 > flutter pub get
Running "flutter pub get" in okito_demo...                       2,157ms
exit code 0
Our app will use the MVC architecture. As such, we will use folders to organize our code into the various architecture components. So our next step is to create four new folders under the the project lib folder.

Our four new folders are: controllers, models, views, and widgets and are all placed inside the lib folder.
The Model
We will begin programming our app by first developing our data model. For the counter app the model is very simple. It contains a single integer field that stores the current count. Create a file named counter_model.dart in the models folder and add the following code to it:
class CounterModel {
  int count = 0;

  increment() => count++;
  decrement() => count--;
}
The Controller
Now that we have our model, we need a way to interact with it. That’s the controller’s job! The controller acts as an intermediary between the view and the data in the model. The view’s job is to present the data to the user and in the case of a visual display interface, collect input to send back to the controller.
Our controller will only need three method, a get count method, an increment, and a decrement method. Create a file called counter_controller.dart in the controllers folder and add the following code:
import 'package:okito/okito.dart';
import '../models/counter_model.dart';

class CounterController extends OkitoController {
  CounterModel _counterModel = CounterModel();

  void increment() {
    _counterModel.increment();
    update();
  }

  void decrement() {
    _counterModel.decrement();
    update();
  }

  int get count => _counterModel.count;
}

CounterController counterController = CounterController();
Here you’ll find this a cleaner implementation than that used in the video tutorial. The important things to note here are that the CounterController extends the OkitoController, and the use of the update method calls in increment and decrement methods. The update method is inherited from the OkitoController class and is used to notify listeners/watchers of changes. So if you forget the update() calls your UI will not update. The next thing of interest is that we instantiate the controller at the bottom of the file. This will make the controller instance available in any file that includes the controller.
The View
Now that we have a controller for manipulating the data in the model, we need a view for displaying the data. For the view, we are going to create a page view to layout the page components and then a counter widget that will rebuild itself when the count value changes. So let’s begin with the page.
In the views folder create a file named counter_view.dart and add the following code:
import 'package:flutter/material.dart';
import '../widgets/counter_widget.dart';
import '../controllers/counter_controller.dart';

class CounterView extends StatelessWidget {
  @override
  Widget build(BuildContext context) {
    return Center(
      child: Container(
        child: Column(
          mainAxisAlignment: MainAxisAlignment.center,
          children: [
            CounterDisplayWidget(TextStyle(fontSize: 18.0, fontWeight: FontWeight.bold, color: Colors.blue)),
            Padding(
              padding: const EdgeInsets.all(8.0),
              child: ElevatedButton(onPressed: counterController.increment, child: Text('Increment')),
            ),
            Padding(
              padding: const EdgeInsets.all(8.0),
              child: ElevatedButton(onPressed: counterController.decrement, child: Text('Decrement')),
            ),
          ],
        ),
      ),
    );
  }
}
As you can see there isn’t much going on here. It’s a simple page containing two buttons, increment, and decrement. In the button’s onPressed callback we call our counterCountroller’s increment and decrement methods respectively. These methods just forward the work of changing the value of count to the model’s respective methods.
Custom “Smart” Widget
Now we need to create our CounterDisplayWidget that was used above in the page view. To make this widget a little more interesting we are going to pass in a text style. Create a new file in the widgets folder named counter_widget.dart and add the following code:
import 'package:flutter/material.dart';
import 'package:okito/okito.dart';
import '../controllers/counter_controller.dart';

class CounterDisplayWidget extends StatelessWidget {
  final TextStyle _style;

  const CounterDisplayWidget(this._style, {Key? key}) : super(key: key);

  @override
  Widget build(BuildContext context) {
    return OkitoBuilder(
      controller: counterController,
      builder: () => Text('Counter Value: ${counterController.count}', style: _style),
    );
  }
}
Here our StatelessWidget includes a const constructor that accepts a textStyle and an optional key value. The key value is passed to the parent in standard form. The text style is passed to the Text widget in the OkitoBuilder. The OkitoBuilder is notified of changes by the update method in the controller, and this triggers the widget to rebuild with the new count value.
Prefer to Learn from a Video?
While there are a few slight differences, I do have a video tutorial with this app on youtube. You can find it here:
Conclusion
I found Okito to be pleasant to work with. It’s simple, straight-forward approach lends itself to MV* architectures. I think this package would be great for those flutter developers who have created a few single file apps and are ready to tackle something a bit larger. Also, those flutter devs with some web experience in MV* architectures like CodeIgniter, Cake, etc… will find Okito easy to use .
Resources
Okito Package on Pub.dev: https://pub.dev/packages/okito
Okito Documentation: https://pub.dev/documentation/okito/latest/